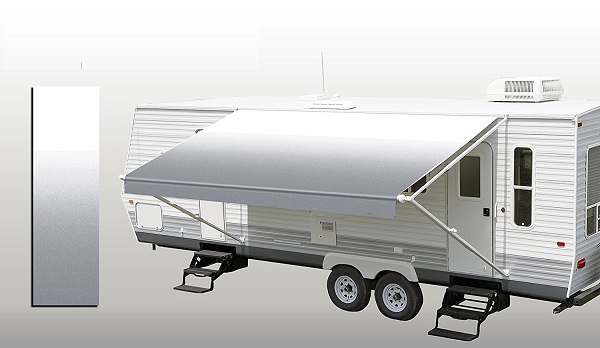
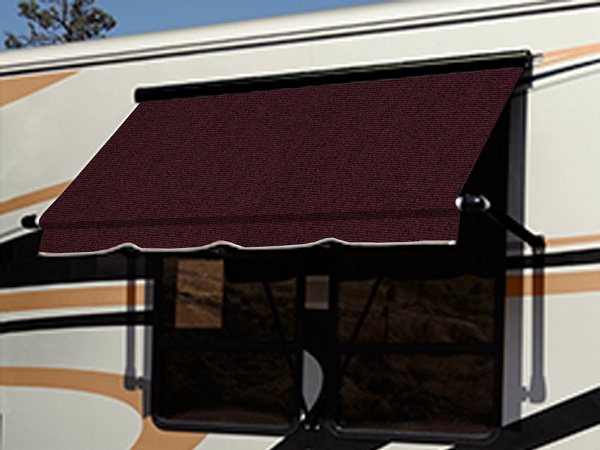
Awning fabric can provide shading on a hot summer day when temperatures are high or serve as storage space for bicycles during a camping trip. The space under an awning is also an ideal location to set up tables for food. If the awning fabric material on your RV is worn or torn, you'll need to replace it. While the process is moderately easy, it is highly recommended that you use an assistant to help you handle the heavy parts, such as the awning arms.


Step 1
Unfasten the travel locks, which are located on the awning arms. Position the cam lock into the roll-out position. Once the mechanism is in place, roll out at least one foot of awning.
Step 2
Align the holes in the end caps. Look for a hole the size of a cotter pin, which you will use to lock the spring tension in a moment. Rotate the inner shaft until the two holes are aligned. Secure each hole with a cotter pin. Bend each pin at the end to keep the cotter pins in place.
Step 3
Locate the rafters at the top of the trailer. Look for the two lag bolts that are holding the rafters in place. Remove the bolts by hand.
Step 4
Locate the screws that fasten the awning fabric in place on the awning rail. Remove the screw from each side with a screwdriver.
Step 5
Grab hold of the awning arms and free the arms at the bottom. Remove the assembly by guiding if off the end of the trailer. Move the awning tube and the awning arms to the side. Slide the new awning into its place. The resting marks for both must match. Center the awning on the tube and stick the cord tails into the tube using your hand.
Step 6
Roll up the awning and fasten the travel locks to secure the new awning in place.


