


These are instructions for how to wrap your automotive interior with carbon fiber vinyl. I have done this on a number of cars, and the technique can be applied to just about anything, some people even wrap their hood or trunk lid with this stuff.
Materials/Tools needed:
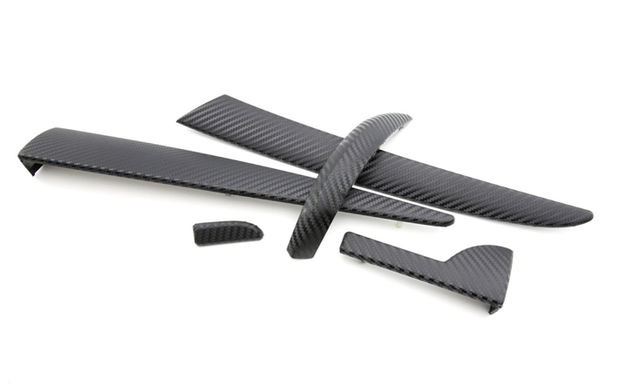
-DERFLEX DCB-01 carbon fiber vinyl (there are other styles available, including different shades of carbon fiber. DCB-02 corresponds to the traditional black-and-greyish carbon fiber look)
-Scissors
-X-acto knife or razor blade
-Measuring tape
-Plastic card for smoothing out bubbles (an old credit card will work, but it helps to smooth the edges a little)
-Heat gun (hair dryer will work, but an adjustable heat gun is preferred)
Step 1: Measure Trim
Measure the trim as best you can leaving at least a half inch excess on each side of what you want to wrap, ideally more like an inch just in case. You can do this on the car in most cases, just make sure to account for any curvature or irregularities that you might run in to. Once you have measured each piece you want to wrap, you can figure out how much material you need to order. It typically comes in a 24" roll, so you'll need to figure out how many feet you need from that 24" roll.
Step 2: Step 2: Remove Trim
The "best" way to do this is to completely remove any trim from the car that you want to wrap. Some people cover the trim directly on the car by just laying it over what they want to cover and trimming off the excess, but I personally think that it is necessary to wrap the trim around the backside on each edge so that it can't possibly peel off on a hot summer day.
Step 3: Applying the Vinyl
Once you've cut all the pieces you need, start by removing the backing paper of the piece you want to work with, and lay it adhesive side up on a workbench or table. Then take the trim piece and carefully lay it down on top of the trim to get the initial alignment. The adhesive is pretty forgiving, and can be pulled off and reapplied rather easily if you mess up.
Once you've got the initial alignment done, you can start working it around the rest of the flat surfaces until you get to the corners. Anytime you need to wrap around a corner or irregularity, you'll need to break out the heat gun. The vinyl responds very well to heat, so be careful and don't get it to hot because it will melt if you do.
To wrap around contours, heat the vinyl a little until it is soft, then work it around with a plastic card, making sure to clear any air bubbles that you get and avoid any wrinkles. Once you have reached the edge of the trim, you can trim the vinyl down to size, leaving about a quarter inch to wrap around the back side.
Step 4: Reinstall Trim
Once you've wrapped all the trim, you can go ahead and reinstall it.